DiaInspect M

Micron Particle Analyzer
DiaInspect M is an optical particle analyzer optimized for examining Micron powders. It can determine statistically significant shape parameters for particles as small as approximately 3.5 µm, a breakthrough in analysis.
A Breakthrough in Analysis.
DiaInspect M operates at the cutting edge of light microscopy, pushing the boundaries of optical analysis.
This level of precision allows for unparalleled insight into the particles’ characteristics, such as size, shape, and distribution. By capturing fine details and nuances, the system supports high-quality research and production processes.
These precise measurements enable researchers and quality control professionals to better understand the properties of the powders, facilitating the optimization of production processes and the development of superior products. The system’s advanced technology offers consistent and reliable results, making it a valuable tool for industries that rely on superabrasive powders.

At your service.
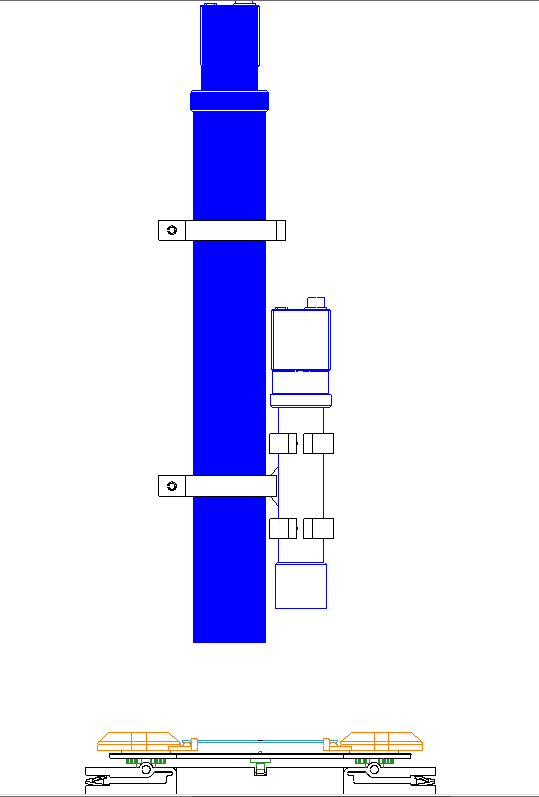
DiaInspect M features two microscopic optics: a high-resolution optic and a medium-resolution optic, along with a slide scanner for image acquisition.
The high-resolution optic includes a telecentric monochrome short-wave high-power stroboscopic illumination, a telecentric objective with maximum magnification, and a monochrome camera with a specialized image sensor. These advanced components enable detailed analysis of the finest powders.
The sophisticated combination allows for precise, clear images, capturing intricate details of even the smallest particles.
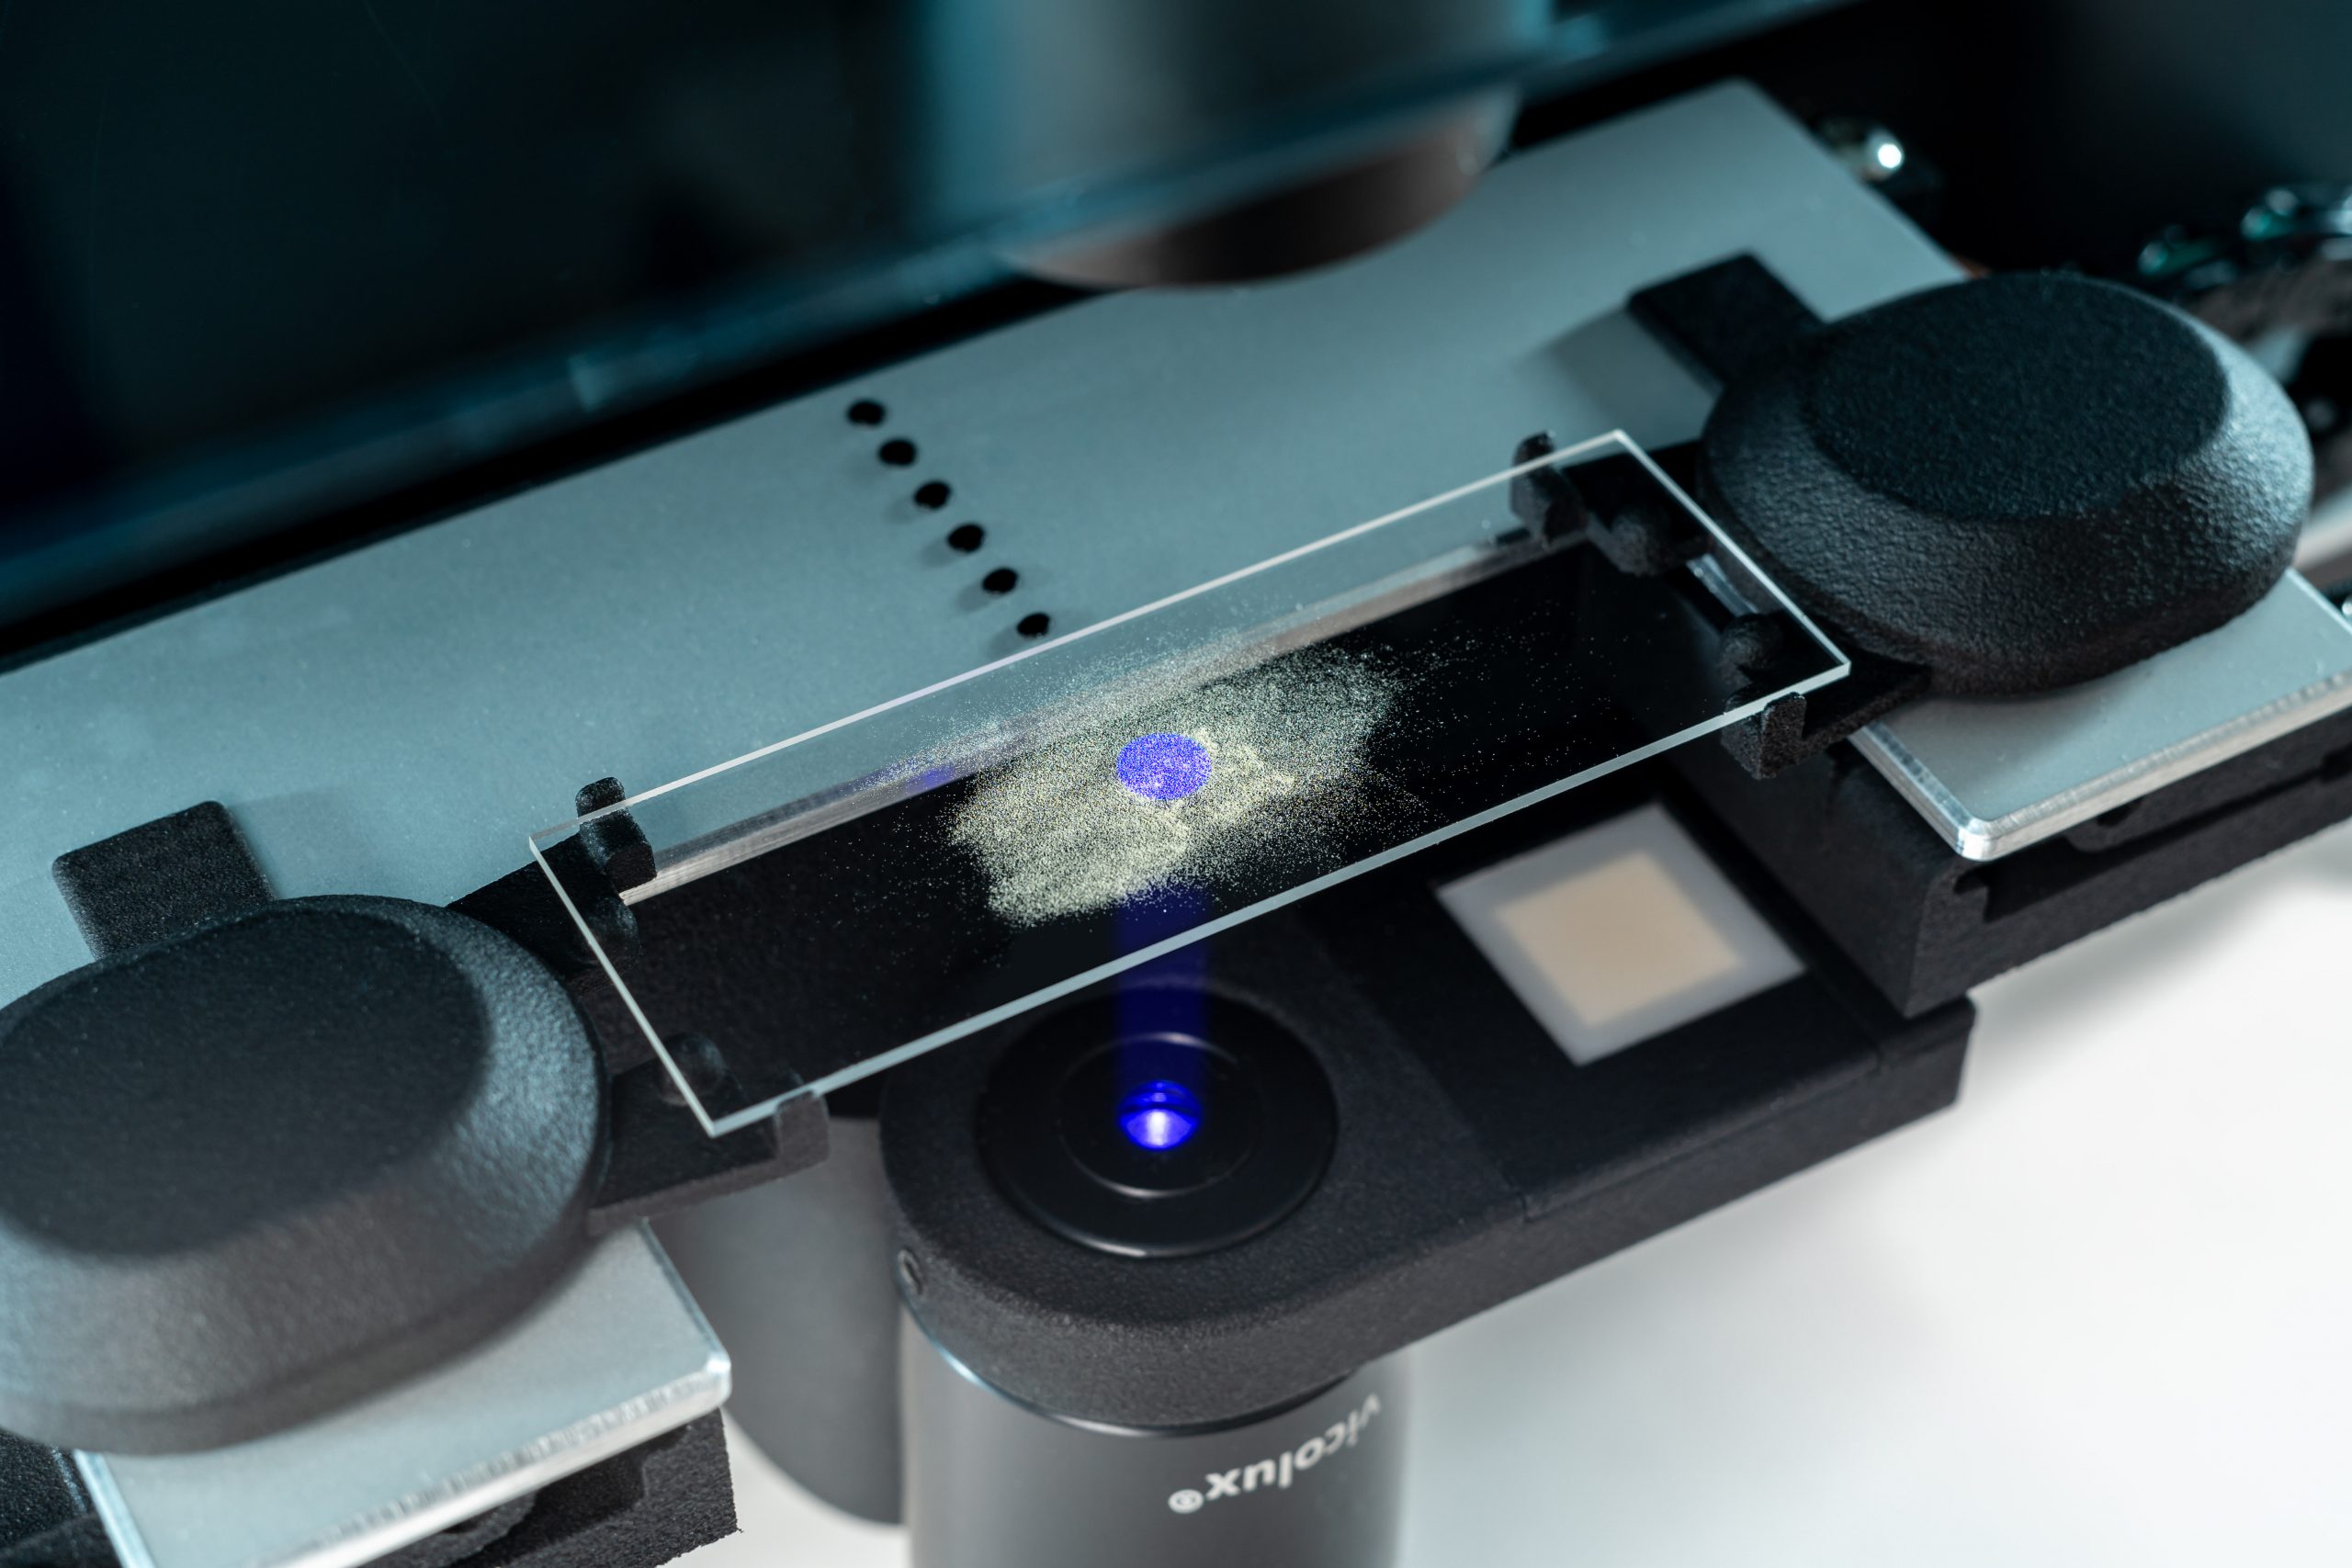
Focusing System
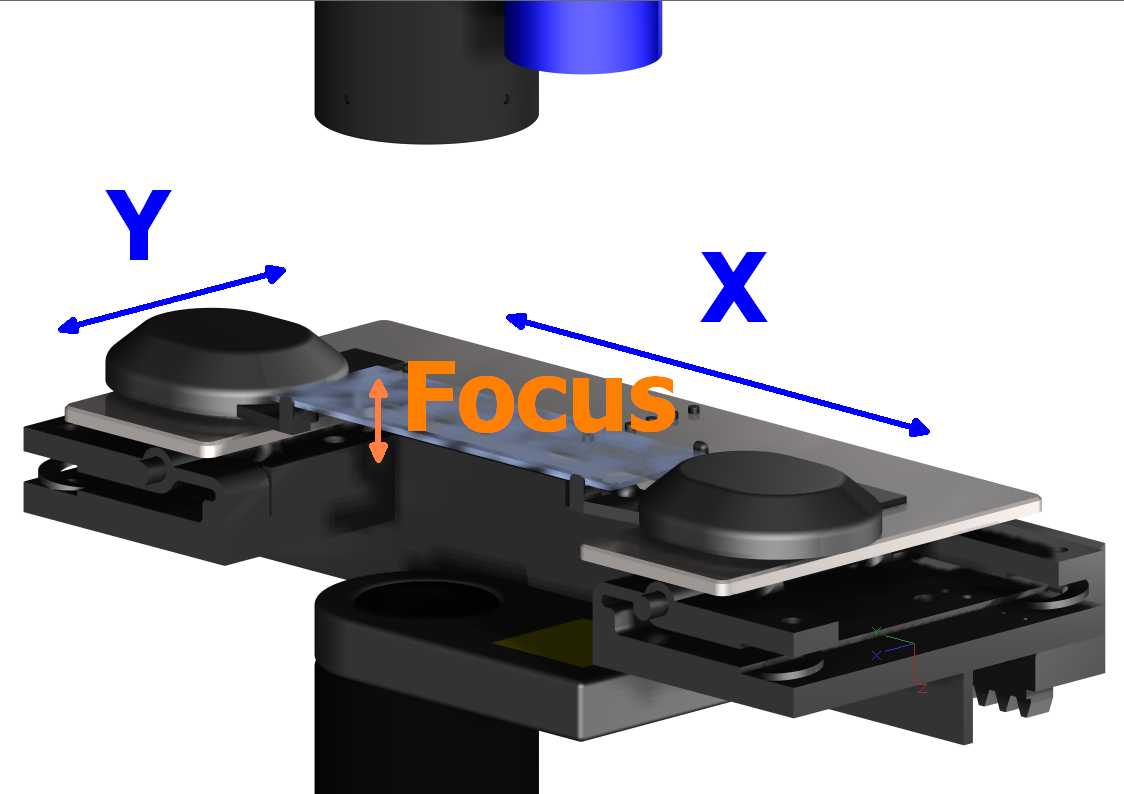
The automatic focusing system and sample displacement in the x- and y-directions enable the use of standard slides. Larger particles are manually dispersed dry, while smaller particles are prepared wet.
Discover Four Powerful Methods to Achieve Results
The analysis software evaluates particle images and calculates a range of size and shape parameters for each particle detected in the image. The software offers four different ways to input particle images for analysis:
- Utilize the high-resolution optical setup of DiaInspect M to scan monochrome images of very fine particles.
- Use the medium-resolution optical setup of DiaInspect M to scan color images of fine particles.
- Import an existing image file.
- Employ an attached slide scanner to capture color images of coarse particles.
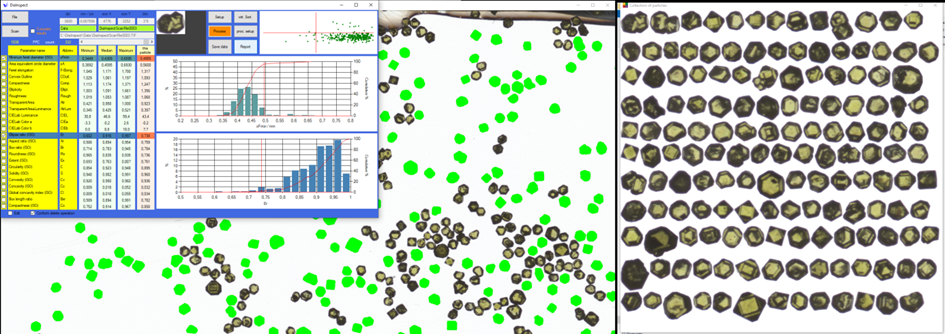
Precision
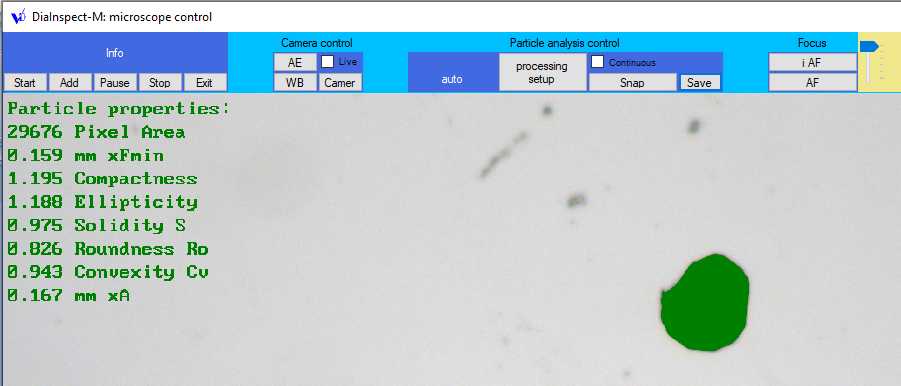
Accurate image processing and analysis deliver exceptional results (source image on the left, green-highlighted single particles, resulting image on the right).
System Interface
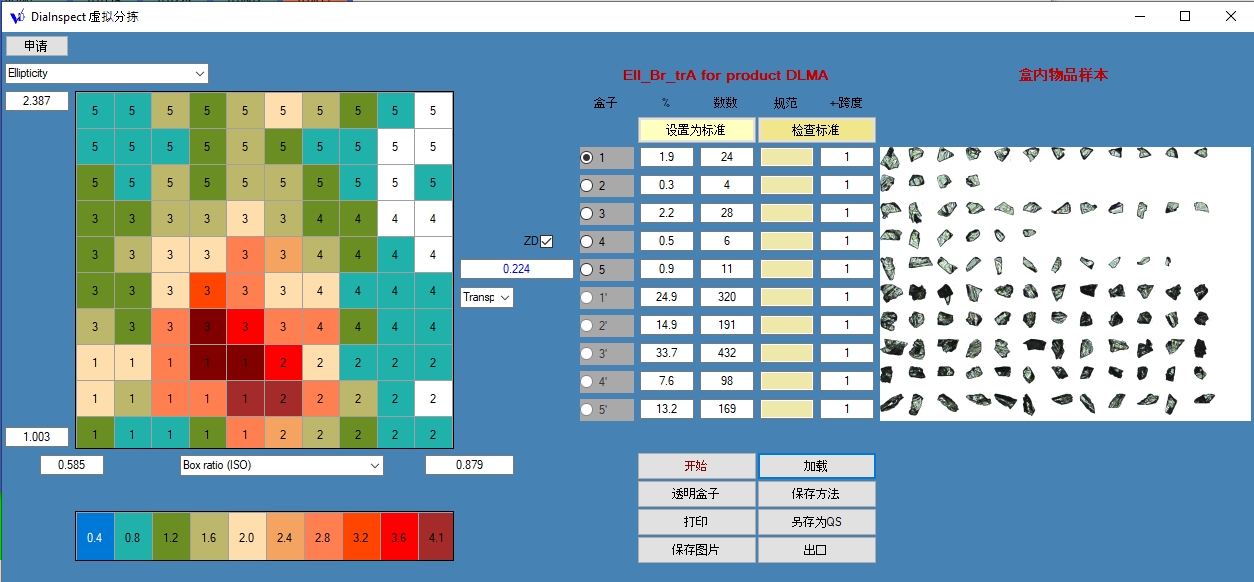
The system’s operation is managed through a user-friendly program interface that operates on a standard PC.
This interface allows users to easily navigate through different functions and settings, making it simple to control and monitor the system. With clear icons and intuitive menus, users can quickly access the information they need and make adjustments as necessary.
The control program enables pausing the measurement process at any point. Data collected is saved on the hard drive and can be retrieved at a later time when the operator decides to resume the task.
Parameters
Extract from the list of calculated parameters for individual particles and the entire batch:
- Minimum feret diameter
- Maximum feret diameter
- Circle equivalent grain diameter
- Total area
- Perimeter
- Convex perimeter
- Moments of inertia
- Feret elongation
- Compactness
- Roughness
- Ellipticity
- Percentage of the “transparent” appearing area
- Relative brightness of the “transparent” appearing area
- Colour coordinates in the CIE Lab-system
Results
While a standard report is automatically generated, all results are saved in Microsoft Excel file format. Each batch has its own file containing data for every tested particle. There is also a separate file for each product, summarizing the statistical distribution of measured parameters across all batches associated with that product. Printed reports include selectable data for each batch.
These reports can be customized to focus on specific data points or trends, making them a valuable tool for quality control and process optimization. Additionally, these reports can be easily shared across departments to facilitate collaboration and decision-making. The data is stored in a structured manner, enabling efficient retrieval and analysis whenever needed.
Technical Data
| Power supply | 110 … 240 V A.C. |
| Measurement range | Grain size: 3.5 µm … 8/10 US mesh |
| Processing time |
app. 3 … 5 minutes Preparation and test of 5,000 particles (grain size 100 µm) |
| System |
PC with Windows 11 (64 bit) |
| Camera |
USB 3.0 connection |
|
Required accessories (not included) |
Two screens, keyboard, mouse |
| Supported languages |
Chinese, English, German (others upon request) |
Magnification
| High Resolution Optics | Medium Resolution Optics | Slide Scanner in positive mode | |
| Image type | Monochrome | Color | Color |
| Single image size | 4,000 x 3,000 | 2,448 x 2,048 | up to 4,776 x 3,252 |
| Lighting mode | telecentric | diffuse | diffuse |
| Lighting color | blue (450 nm) | white | white |
| Image resolution |
144,340 dpi | 29,540 dpi | 3,600 dpi |
| Pixel size |
0.18 µm | 0.86 µm | 7 µm |
| Field of view |
0.74 x 0.55 mm | 2.11 x 1.77 mm | 24 x 36 mm |
| Magnification’ using a 90 ppi screen |
1,500 | 330 | 40 |
| Recommended minimum particle size (in µm) |
3.5 | 17 | 140 |
The recommended minimum particle size is based on the rule that the smallest dimension of a particle image should encompass at least 20 pixels.
