DiaSusz v2

Magnetic Susceptibility
This magnetic susceptibility meter is a portable, high-precision device designed for in-process and laboratory control of magnetic impurities in synthetic diamond grades.
Magnetic susceptibility is defined as the ratio of the induced intensity of magnetism in a substance to the magnetizing force or field intensity to which it is exposed.
It quantifies how a material responds to a magnetic field, providing a measure of the degree to which a substance can be magnetized. This property is essential for assessing the purity and quality of materials, such as synthetic diamonds, as it helps identify and control magnetic impurities that may affect their performance and value.
In synthetic diamond, a significant magnetic susceptibility value often indicates the presence of residual magnetic catalysts within the diamond crystals. Measuring magnetic susceptibility offers a rapid, indirect method for determining metal content inside the crystals, as long as the catalyst material is ferromagnetic.

Main Components
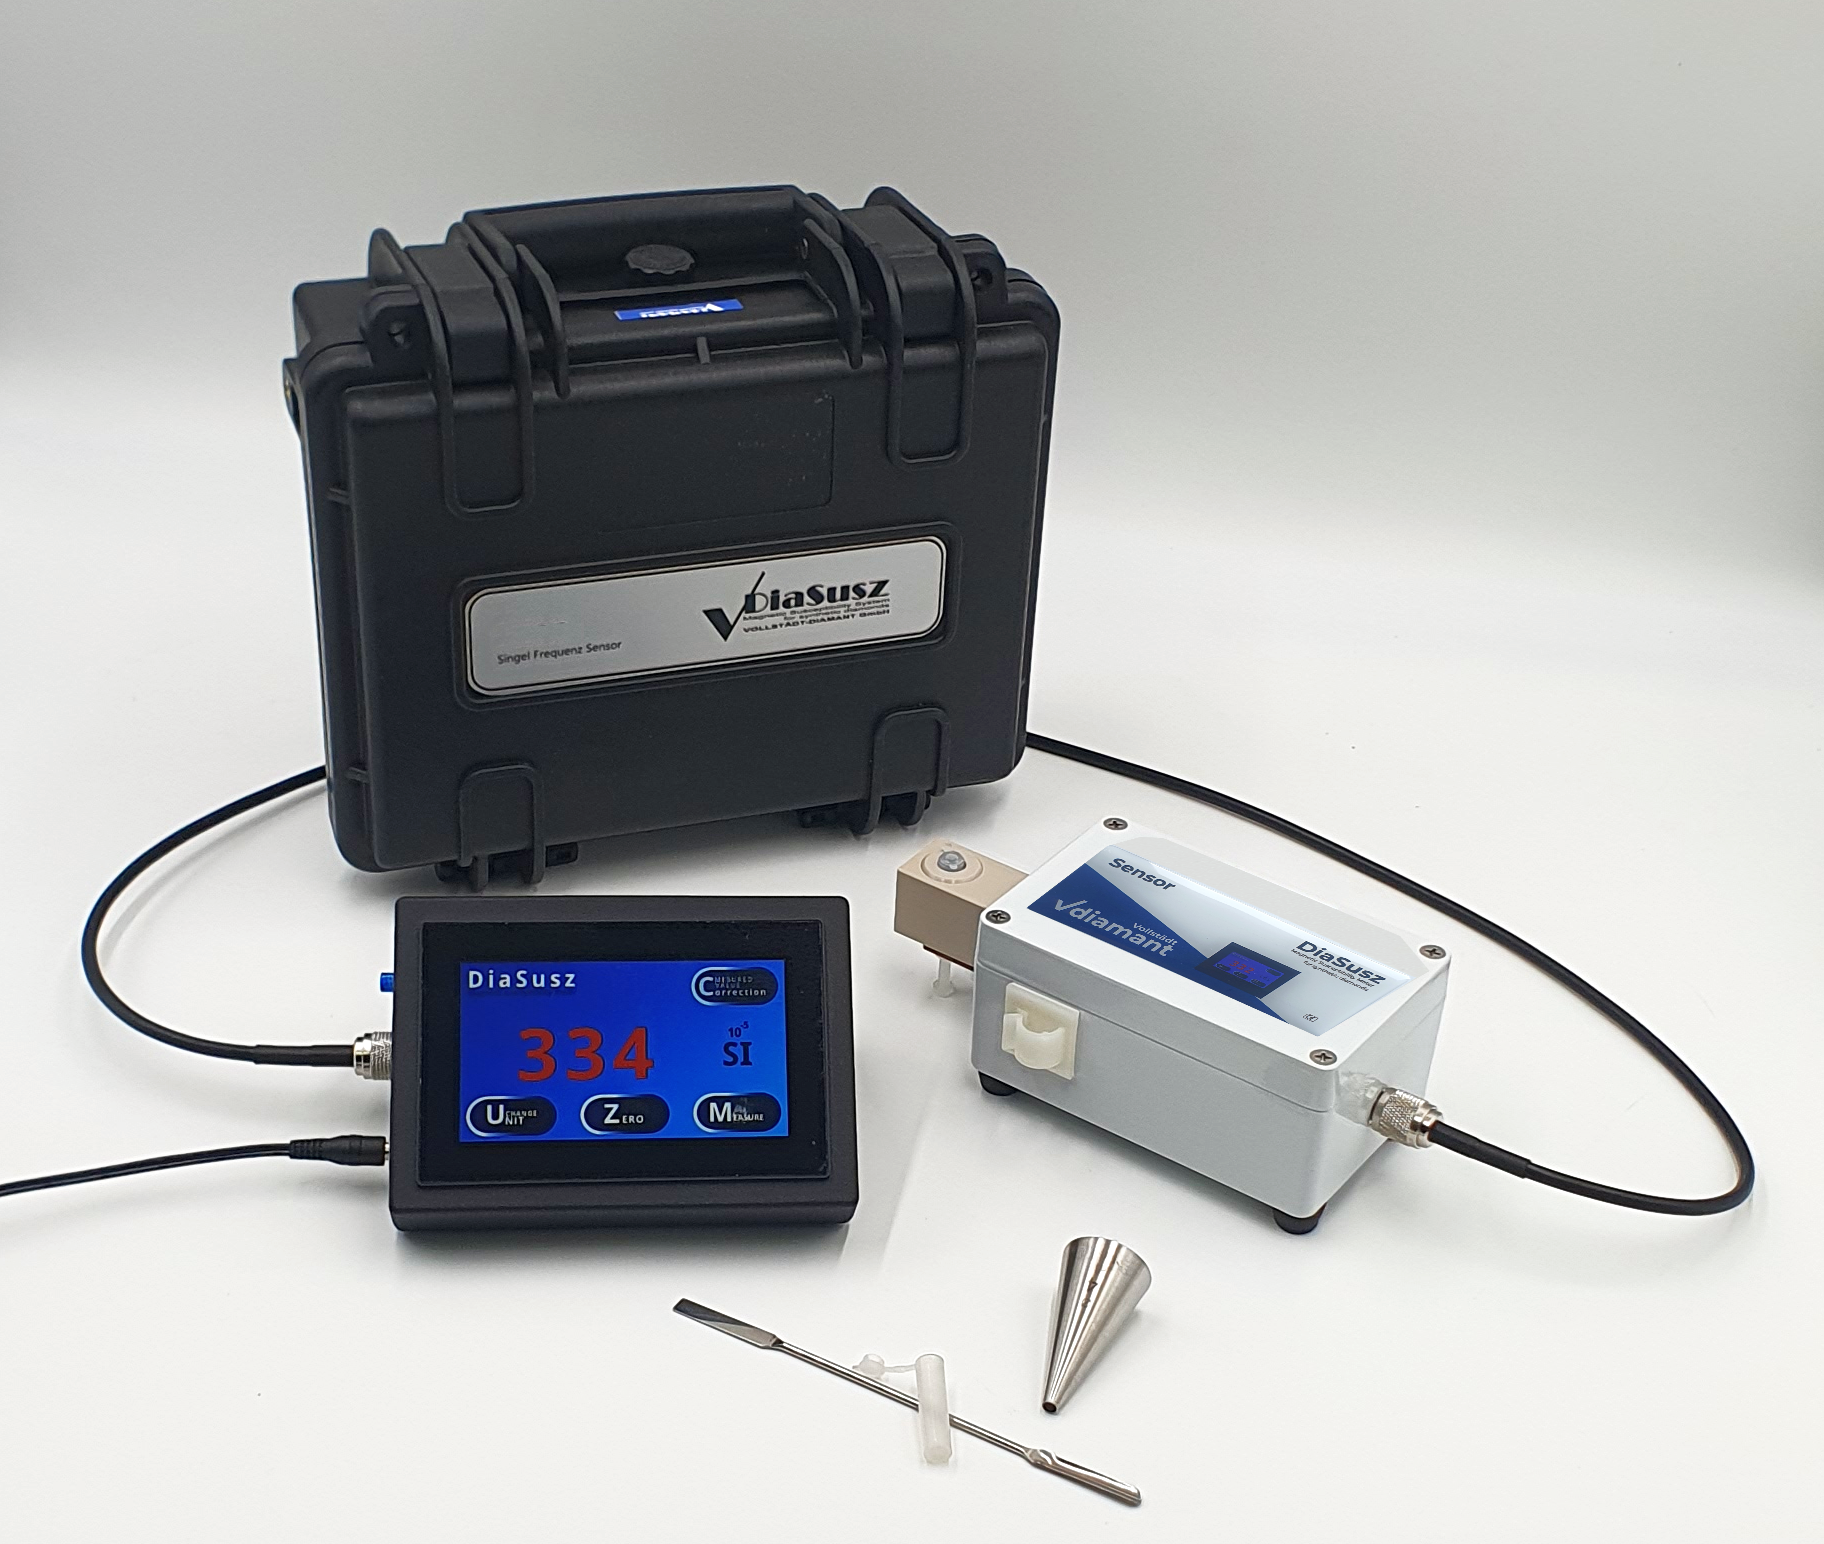
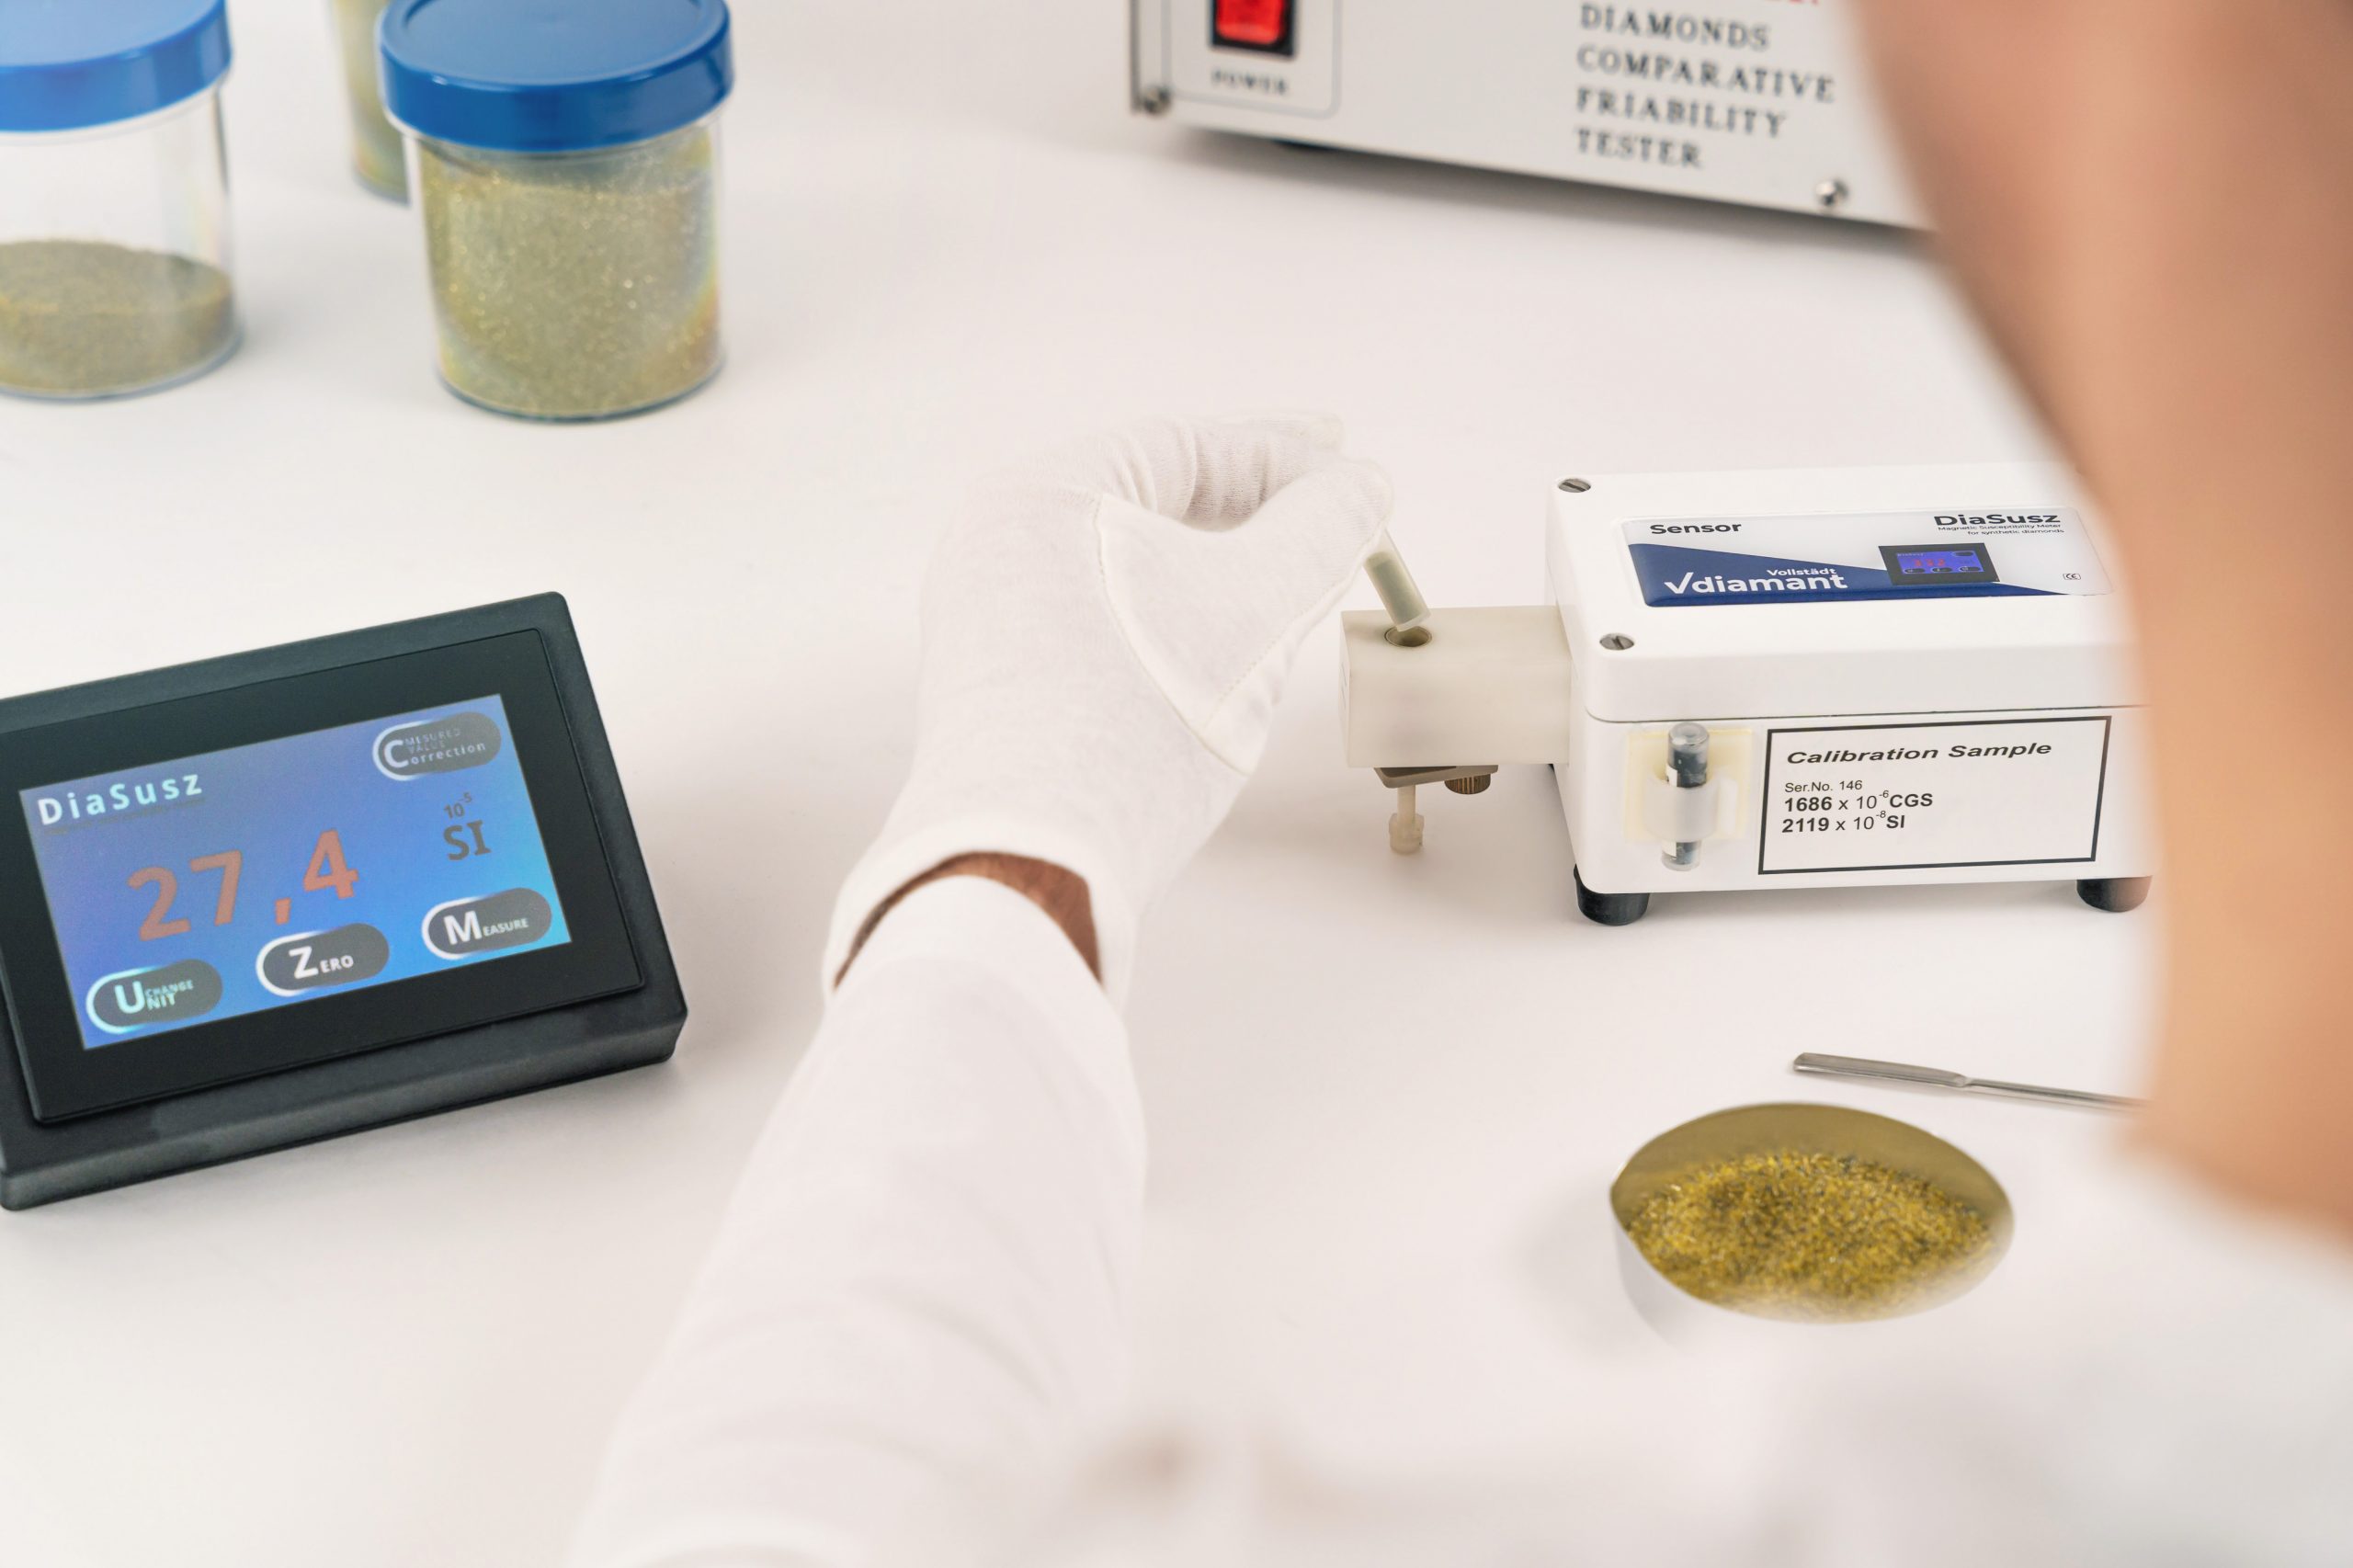
DiaSusz v2 includes a measuring instrument with a touch display and a sensor designed for small volumes. The display provides real-time readings of the magnetic susceptibility of materials when they are placed in the sensor’s designated measurement opening. The sensor is connected to the instrument via a straightforward coaxial cable. Measurements are conducted digitally using a time-dependent method, ensuring precise and reproducible results.
Operating Principle
The sensor works based on the principle of AC induction. It receives power from the oscillator circuit within the sensor, generating a low-intensity (approximately 80 amperes per meter) alternating magnetic field. When a material is introduced into this field, it causes a change in oscillator frequency. This frequency data is then transmitted in pulse form to the MS2 meter, which converts it into a magnetic susceptibility value.

Technical Data
Control Unit
| Display | 4 digit LCD including sign |
| Units | SI or CGS |
| Measuring time |
0.1 s |
| Linearity |
1 % 1 to 9,998 |
| Max. display range |
-9,998 … 9,998 SI, -7,956 … 7,959 CGS |
| Measuring range |
-9,998 … 9,998 SI |
| Over range |
-9,999 and 9,999 SI |
| Sensor connection |
50 Ohm TNC connector |
| Sensor cable type |
RG58CU 50 Ohms 100 pF/M |
| Enclosure material |
PA |
| Operating temperature range |
-10 °C … 40 °C |
| Storage temperature range |
-20 °C … 55 °C |
| Weight |
470 g |
| Dimensions |
140 x 110 x 80 mm |
| Supported languages |
Chinese, English, German, Japanese, Korean (others upon request) |
Technical Data
Sensor
| Sample |
Cavity diameter: 8.5 mm Cavity height: 28 mm Capacity: ca. 8 ct. (Diamond powder 40/50 mesh) |
| Calibration accuracy |
2 % (a calibration test sample is included.) |
| Resolution |
1 x 10 to the power of -7 CGS |
| Measurement period on xl range |
0.9 seconds (SI) 0.7 seconds (CGS) |
| Operating frequency |
1.3 kHz |
| Drift |
1 < 2x l0 to the power of -7 CGS in 5 minutes at room temperature |
| Weight |
670 g |
| Dimensions |
180 x 80 x 67 mm |
